What a solo studio learns from anonymous play stats and a good page checklist

I run Nuts and Bolts Web Design. Most days that means IT support, web design and managed services for small organizations. On the side I build a video game, and it keeps teaching me things I use with clients. Two lessons from the last few builds.

Lesson one: get found

The game has a play page at play.culdesaccrew.com. In build 85p-37 I gave it the same checklist I use on client sites. A clear title and description. A canonical link. Share previews for Facebook, X and texts. Structured data that says what the page is. A sitemap. Plain text for visitors whose browsers cannot run scripts. I also put the build number in the game file names, so a new release loads clean and a browser never mixes old files with new ones. None of it is exciting. All of it is the difference between a page that exists and a page people can find.

Lesson two: measure the visit that leaves no trace

The browser demo gets visitors who load the page, look at the menu and leave. Until this week my stats could not see them. If a launch never started a run, it sent nothing. That made it impossible to tell a game that nobody opens from a game that people open and bounce off.

Version 85p-41 sends one small anonymous event when the menu first appears, with the number of seconds it took. A session that sends only that event is a bounce. Now I can count menu viewers separately from people who start a run, and I can see whether a slow load is costing me visitors.
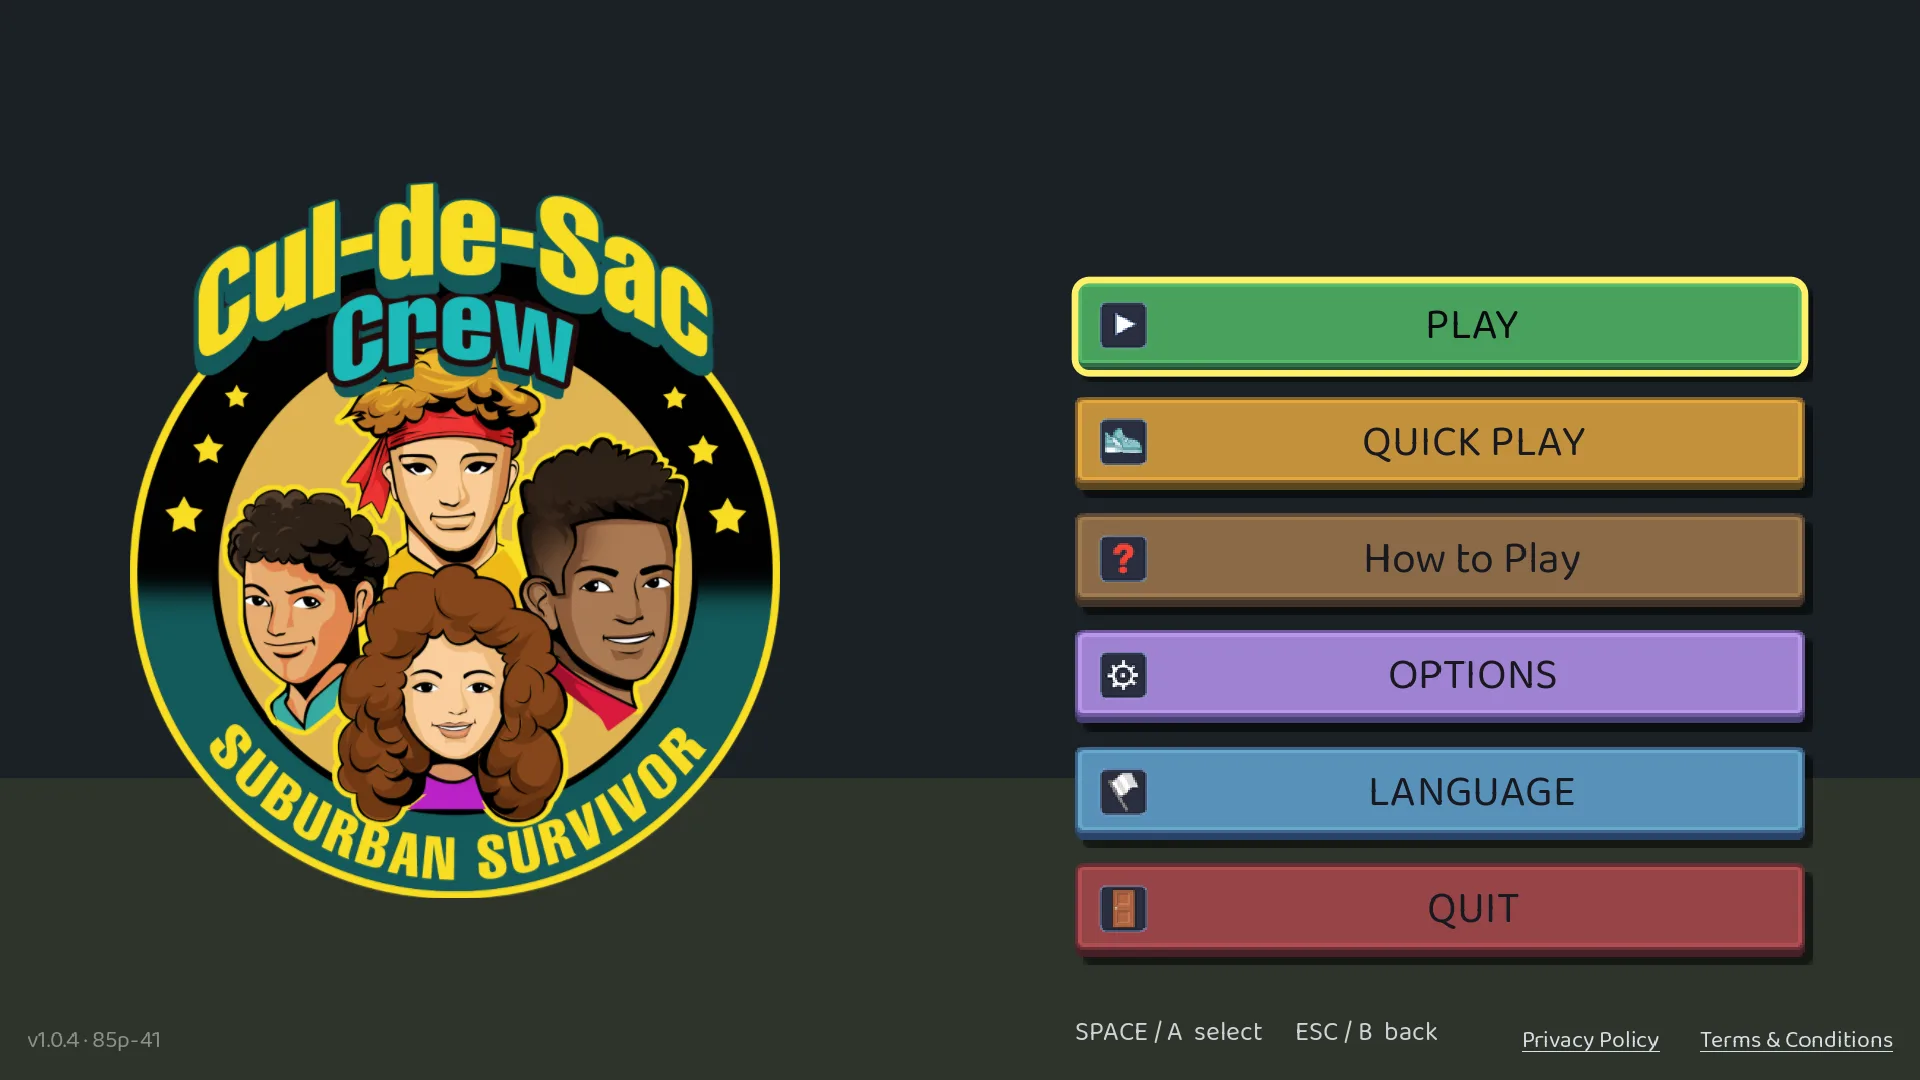
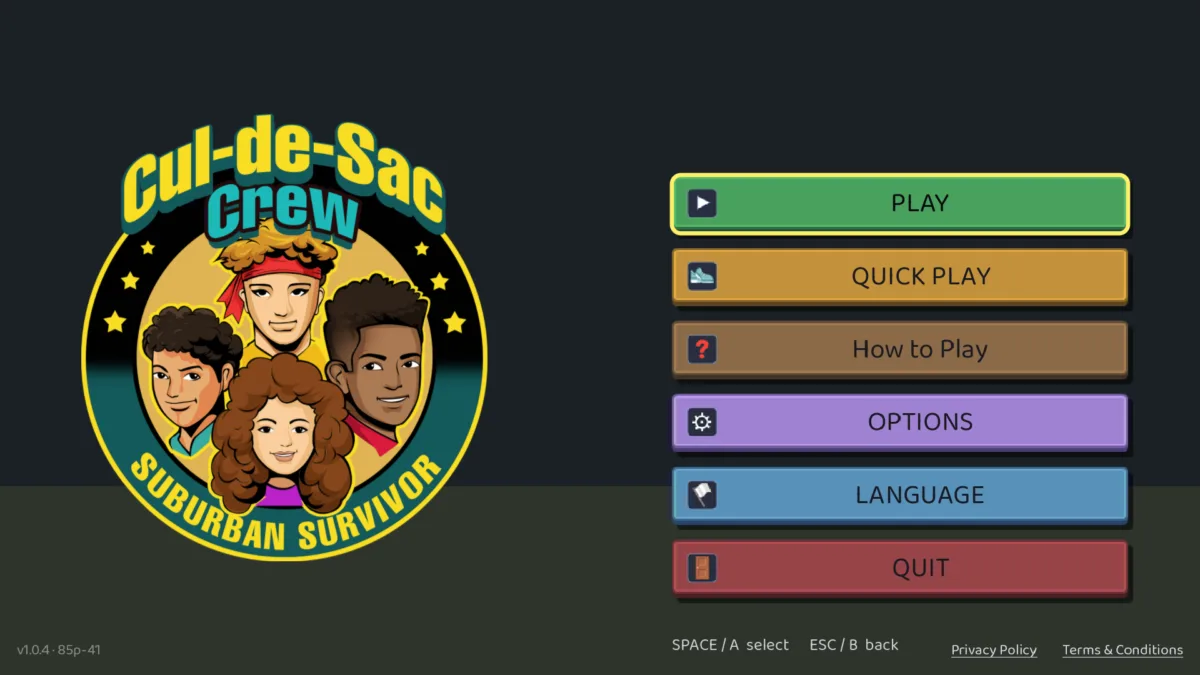
Cul-de-Sac Crew: Suburban Survivor title screen showing the crew, version 1.0.4, build 85p-41
The Cul-de-Sac Crew: Suburban Survivor title screen, version 1.0.4, build 85p-41.

I also added a few more events: when a run reaches each Lieutenant, the boss and the finish, which level-up card a player picks and which kind of input they use, such as touch, keyboard, mouse or controller. Every one of those is a fixed word, a short code or a whole number. No free text, no accounts, no device details. One random code per launch, held in memory and never saved.
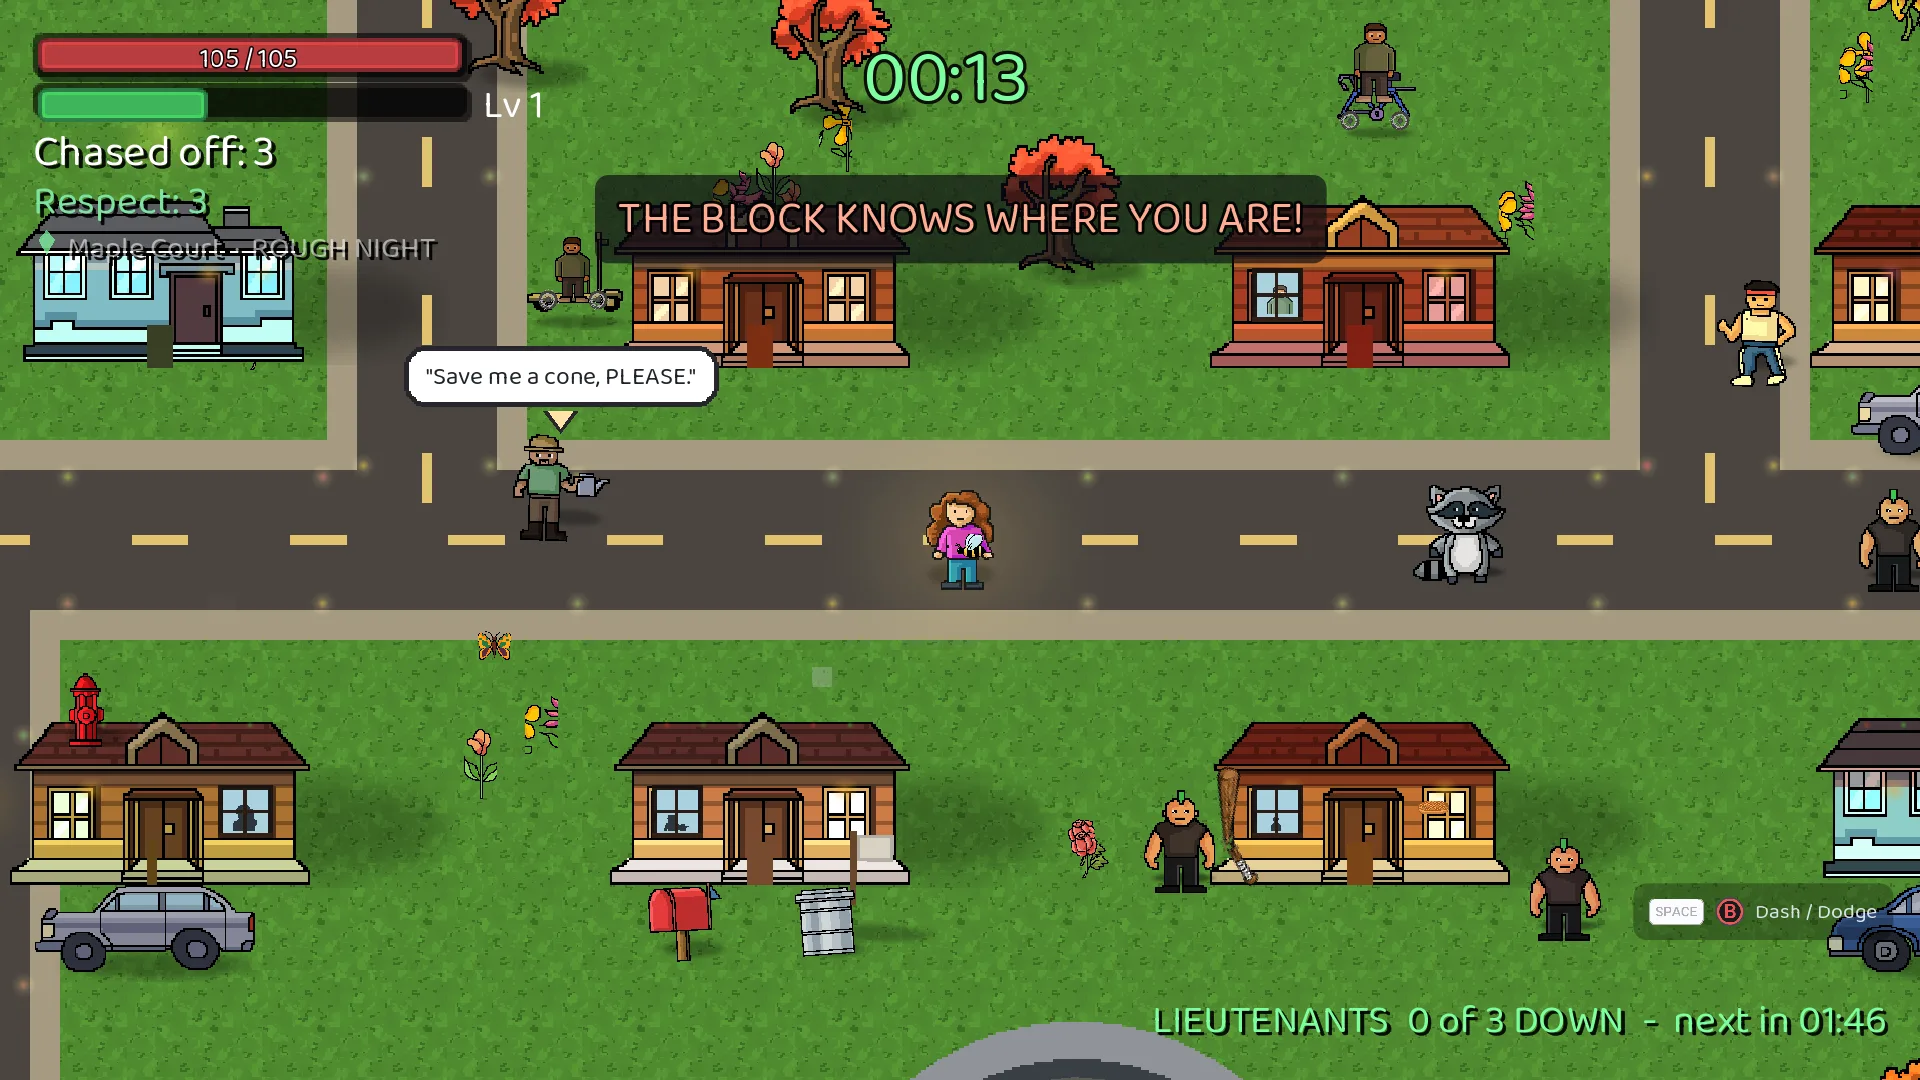
Gameplay on Maple Court with the status column, Respect meter, and mini-map visible
A run in progress on Maple Court, Rough Night difficulty.
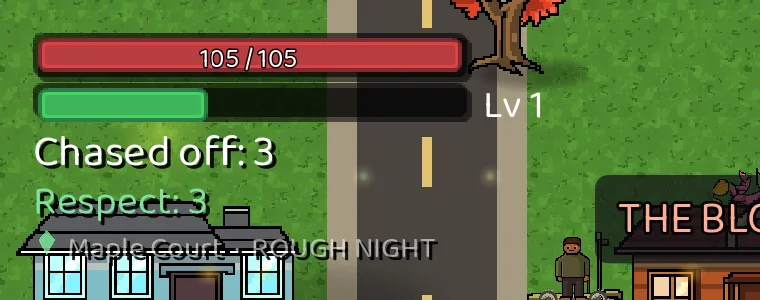
Close-up of the status column showing HP, XP, level, chased off, and Respect
The status column: health, experience points, level, chased off count, and Respect.
Gameplay on Maple Court with squirrel enemies and the lieutenants counter at the top
Maple Court during Block Party, with the lieutenants counter running.
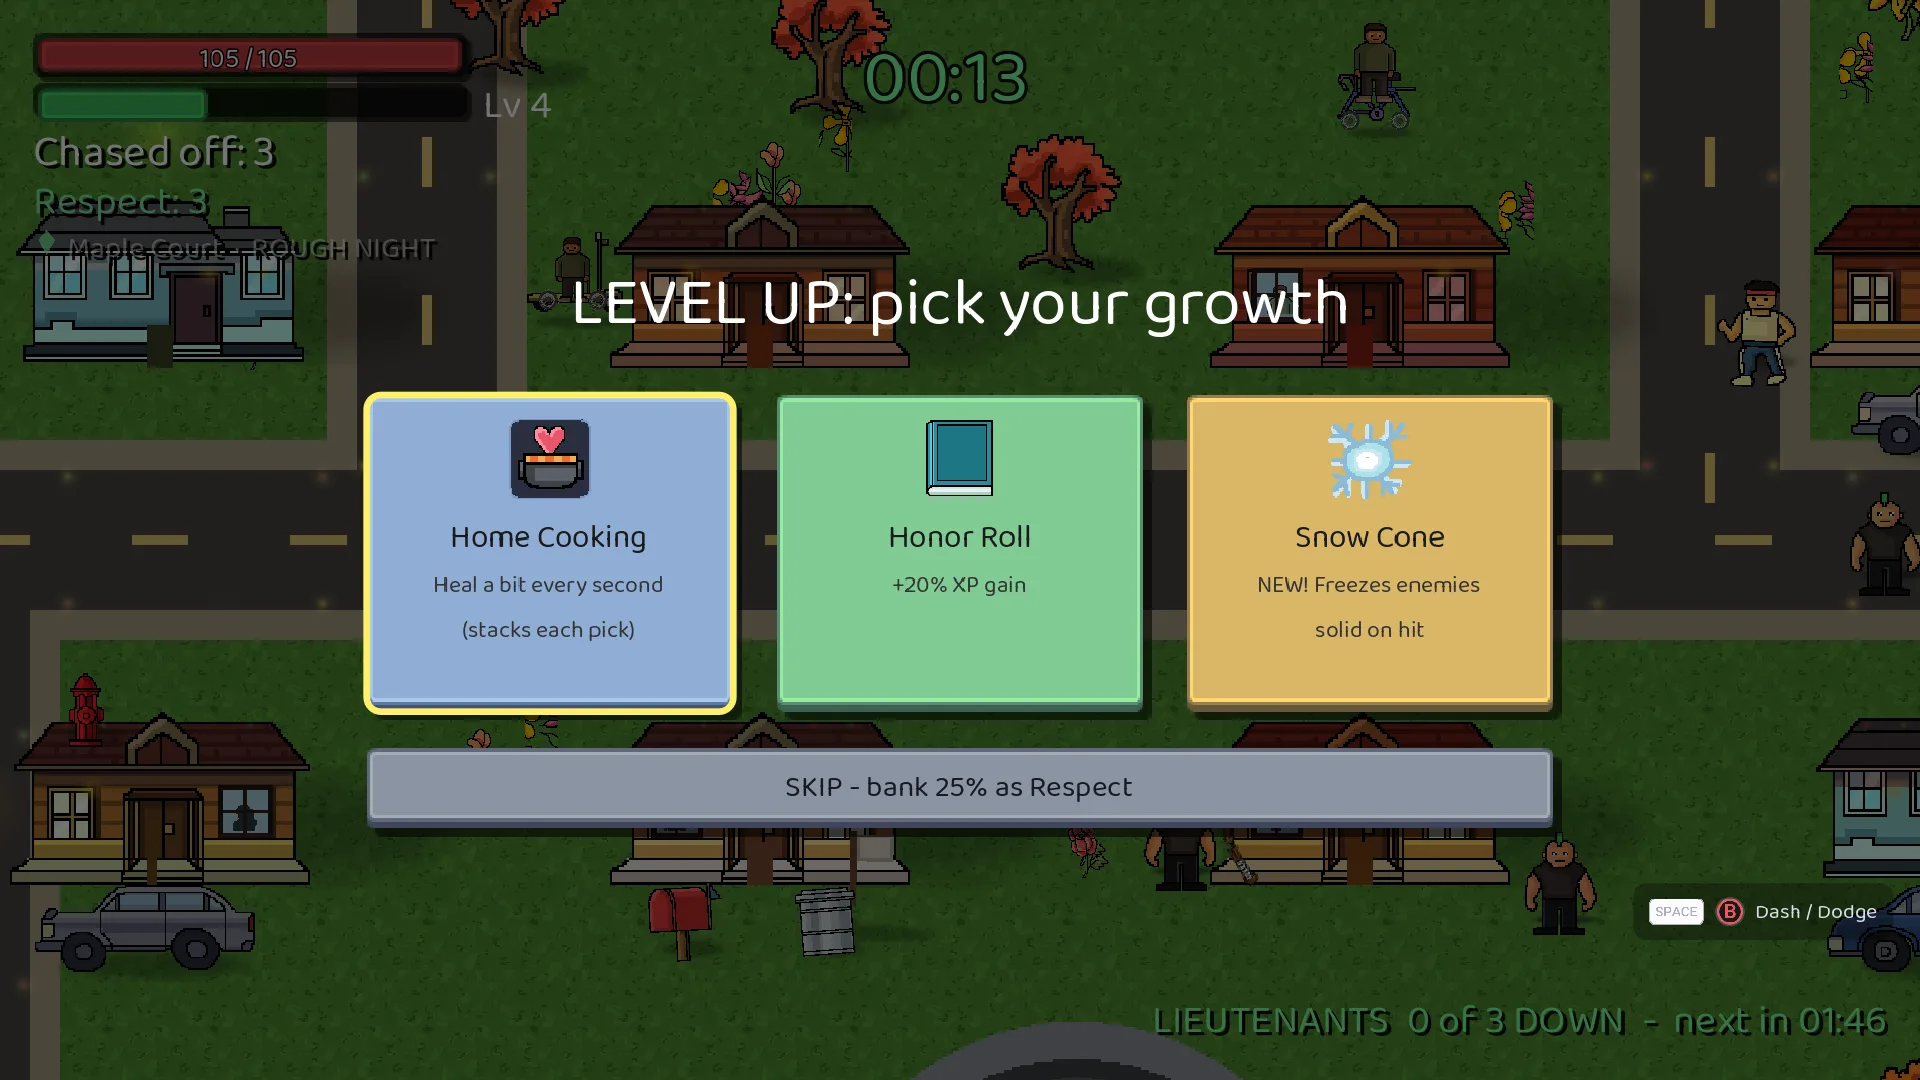
Level-up screen offering Home Cooking, the new Snow Cone, and Honor Roll
Level-up choices, including the new Snow Cone card.

Why the privacy line matters to a business

Small organizations ask me about analytics all the time. My rule is simple. Collect the least you need to make a decision, and write down what you collect. For the game, I wrote a spec first, listed every event and field, and listed what is not allowed. A new field needs approval before it gets added. That one-page spec saved me from drift, and it is the same habit I recommend to clients who run a website or a service.

A smaller lesson: let people skip the tutorial

The update also lets new players skip Practice. Forced onboarding is a quiet way to lose people. Give them the choice, keep the lesson one click away and watch what they pick.
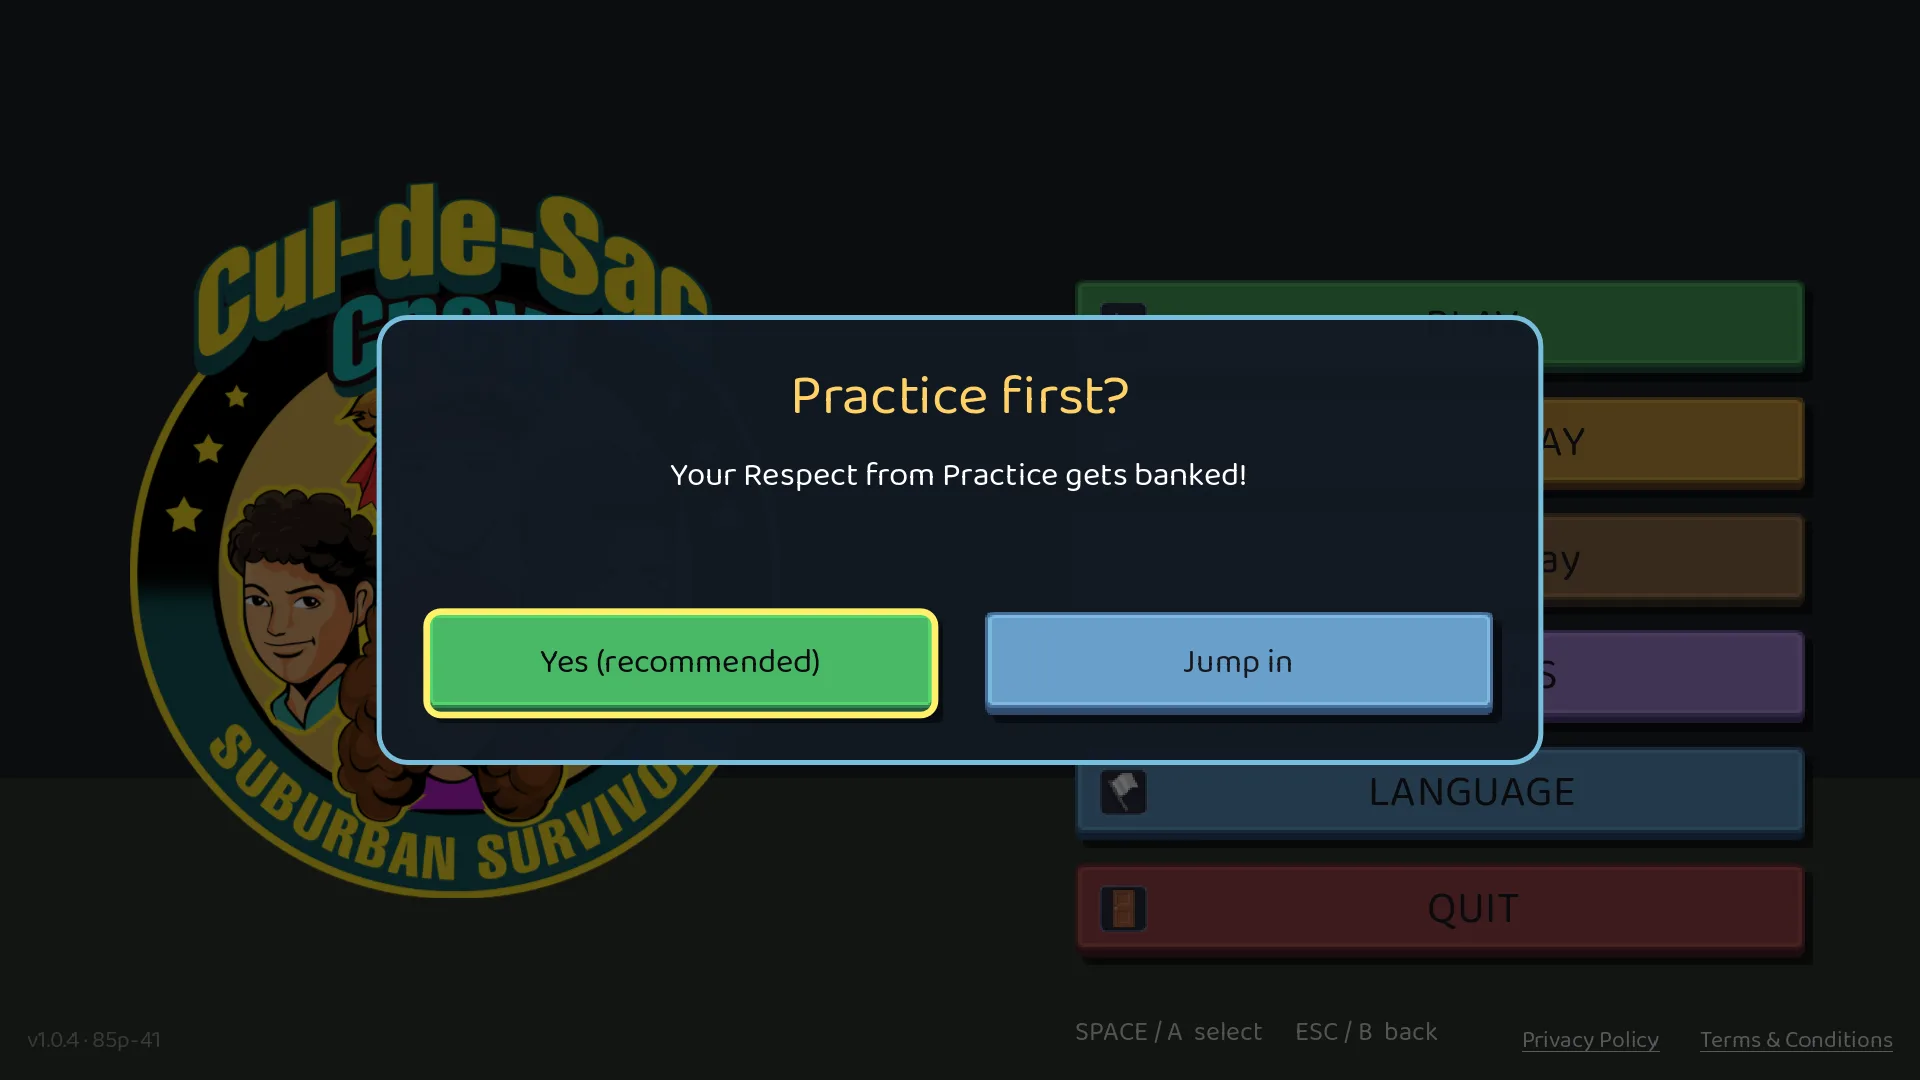
Practice first card offering Practice Modes or Play Stage 1-1
New players choose: practice first, or skip it and play.

Want this for your organization?

If you run a small website, app or service and want to be found, with honest numbers that do not collect more than they should, reach out through nabwd.com. Nuts and Bolts Web Design does web design, IT support and managed services.

Demetrius Pinder
Nuts and Bolts Web Design

Forward Gmail or Google Workspace Email to Another Address

Gmail can forward incoming messages to another email address. This can be useful if you check one inbox more often or need messages sent to a secondary address.

These steps apply to Gmail on a computer. If you use Google Workspace through your employer or organization, the administrator may restrict automatic forwarding to external addresses.

Turn on automatic forwarding

  1. Open Gmail in a desktop browser and sign in to the account you want to forward from.
  2. Click the Settings gear, then See all settings.
  3. Open the Forwarding and POP/IMAP or Forwarding tab. The label may vary by account.
  4. In the Forwarding section, choose Add a forwarding address.
  5. Enter the email address that should receive the messages.
  6. Confirm the request. Gmail sends a verification message to the destination address.
  7. Open the destination inbox and select the verification link in Google’s email.
  8. Return to Gmail’s forwarding settings and refresh the browser if necessary.
  9. Select Forward a copy of incoming mail to and choose the verified address.
  10. Choose what happens to Gmail’s copy. For most people, Keep Gmail’s copy in the Inbox is a sensible option.
  11. Click Save Changes at the bottom of the page.

Forwarding applies to new incoming messages after the feature is enabled. Gmail generally does not forward messages classified as spam through its ordinary automatic-forwarding rule.

Forward only selected messages

If you only need to forward messages from certain senders or with specific subjects, create a Gmail filter instead of forwarding everything. In Gmail’s search options, define the criteria, create the filter, and choose the forwarding action using a verified forwarding address.

Turn off automatic forwarding

  1. Return to Settings > See all settings > Forwarding and POP/IMAP (or Forwarding).
  2. Select Disable forwarding.
  3. Click Save Changes.

Troubleshooting

If you don’t see the forwarding option, check that you are using the desktop Gmail interface. If this is a Google Workspace account, your organization’s policies may prevent forwarding.

If the destination never receives the verification email, check the address for typing errors and inspect its spam folder. Verify that you can receive ordinary messages at that address before trying again.

Do not forward customer or confidential business emails to another account without confirming that the destination is appropriate and authorized to receive them.

Share a Google Calendar with Someone Else

Google Calendar lets you share a calendar with specific people or groups. You can choose whether someone sees only when you’re busy, sees event details, or can make changes.

If you use Google Workspace, an organization administrator may limit sharing outside your company.

Share your calendar with a specific person

  1. Open Google Calendar on a computer at https://calendar.google.com/.
  2. On the left, find My calendars. Expand the section if it is collapsed.
  3. Find the calendar you want to share. Select the three-dot menu next to it, then Settings and sharing.
  4. In the settings, find Shared with or the equivalent option for sharing with specific people.
  5. Select Add people and groups.
  6. Enter the person’s email address or a Google group.
  7. Choose the permissions you want that person to have.
  8. Click Send. The recipient receives an invitation and may need to accept it before the calendar appears.

Choose the right permission

Permission What it allows
See only free/busy Shows when you’re busy without displaying event names or details.
See event details Allows the person to view the details of events they are permitted to see.
Make changes Allows editing of events within the available permissions.
Make changes and manage sharing Grants broader control, including sharing management. Give this only to people who need it.

For a customer or coworker who only needs to know when you’re available, free/busy is usually the least revealing choice.

Make a calendar public only when you intend to

A publicly shared calendar can become available to people outside your organization and may appear in search results. Only use public sharing for a calendar specifically intended for public information. Do not make a personal or internal business calendar public simply to share it with one person.

To review public visibility, open the calendar’s Settings and sharing page and find Access permissions for events. Turn off public access if the calendar is not intended for the public.

Stop sharing

Open Settings and sharing, find the person or group under Shared with, and select Remove next to their entry. You can also adjust their permission level without removing access entirely.

If the recipient cannot find the calendar

Ask them to check their email invitation, spam folder, and Calendar list. Verify that you used the correct email address. For Google Workspace accounts, the organization administrator may restrict sharing.

Avoid circulating a calendar’s private subscription address as a shortcut. Use the built-in sharing controls and appropriate permissions.

Set Up Hosting Email on an iPhone Using Secure IMAP

If your email address is hosted with a website hosting account, you can usually add it to the Mail app on your iPhone. We recommend IMAP with encryption so your inbox and folders stay synchronized across your phone and other devices.

These instructions cover standard hosted IMAP accounts, including compatible cPanel and SmarterMail mailboxes. The exact server name and authentication options depend on your email provider.

Before you begin

Have the following ready:

  • Your full email address and its mailbox password.
  • The incoming IMAP server name supplied by your hosting provider.
  • The outgoing SMTP server name supplied by your hosting provider.
  • Confirmation that the mail server supports encrypted connections.

For a cPanel mailbox, sign in to cPanel, open Email Accounts, find your address, and select Connect Devices. Use the server names and Secure SSL/TLS Settings (Recommended) shown there. For SmarterMail, use the secure connection details supplied by the mailbox administrator. Do not assume every account uses mail.yourdomain.com, because the certificate may be issued for a different server hostname.

Add the mailbox to your iPhone

  1. Open Settings.
  2. Select Apps > Mail > Mail Accounts > Add Account. Menu labels may vary slightly by iOS version.
  3. Choose Add Other Account > Mail Account.
  4. Enter your name, full email address, mailbox password, and an account description.
  5. Tap Next. If Mail finds your settings and finishes securely, save the account.
  6. If prompted for manual setup, select IMAP, not POP.
  7. Under Incoming Mail Server, enter your provider’s verified hostname, full email address as the username, and mailbox password.
  8. Under Outgoing Mail Server, enter the provider’s SMTP hostname, full email address as the username, and mailbox password. Outgoing authentication is usually required.
  9. Save the account when Mail verifies the settings.

Secure server settings

Service Recommended configuration
Incoming IMAP Port 993, SSL/TLS enabled
Outgoing SMTP Port 465 with SSL/TLS, or port 587 with STARTTLS when your provider specifies it
Username Full email address, for both incoming and outgoing
Authentication Mailbox password or provider-approved app password

If you need to review the settings later, open the added account under Settings > Apps > Mail > Mail Accounts. The incoming Advanced options and outgoing SMTP settings may be shown separately.

Do not turn SSL/TLS off to make an account connect. Do not accept a certificate warning without checking the exact hostname and certificate with the hosting provider. Older articles suggesting unencrypted ports or bypassing connection errors are no longer appropriate.

Test your email

Send yourself a message from the iPhone, then reply to it from another device or webmail. Confirm that you can send, receive, and see the same messages in both places.

If the setup fails, recheck the mailbox password and the secure server hostname. A mailbox login is not necessarily the same password as your hosting control-panel login. Ask NABWD or your email provider to confirm the current server details rather than trying unsecured settings.

Helpful note: If you use Gmail or Google Workspace, add the account using the Google provider option instead of treating it as a generic hosted mailbox.

Set Up cPanel Email in Apple Mail on a Mac

Apple Mail can manage a business email address hosted through cPanel. These steps use IMAP with SSL/TLS, which is the recommended option for accessing the same messages from your Mac, phone, and webmail.

Find the correct settings first

Before opening Mail, sign in to your hosting account’s cPanel and follow these steps:

  1. Select Email Accounts.
  2. Locate the email address you want to add.
  3. Click Connect Devices.
  4. Find the Secure SSL/TLS Settings (Recommended) section.
  5. Record the incoming and outgoing mail hostnames, ports, and username shown there.

Use the server names supplied by your hosting provider. The correct hostname might be your domain’s mail hostname or the hosting server’s name. It needs to match the certificate used by the server.

Add the account in Apple Mail

  1. Open Mail on your Mac.
  2. Choose Mail > Add Account.
  3. Select the option to add another mail account, if your hosted email provider is not listed.
  4. Enter your name, full email address, and mailbox password.
  5. Continue through the prompts. If Mail cannot configure the account automatically, enter the details manually.
  6. Select IMAP as the account type.
  7. Enter the incoming mail hostname from cPanel, your full email address as the username, and your mailbox password.
  8. Enter the outgoing SMTP hostname from cPanel, again using your full email address and mailbox password.
  9. Finish the setup and allow Mail to synchronize the mailbox.

Check secure server settings

Open Mail > Settings > Accounts, choose the account, and click Server Settings. If Mail is managing connections automatically and the account works securely, you can leave those settings in place.

If manual settings are necessary, turn off Automatically manage connection settings and enter the settings supplied by your provider:

Service Recommended configuration
IMAP incoming Port 993, Use TLS/SSL on
SMTP outgoing Port 465 with SSL/TLS or 587 with STARTTLS, according to the provider
Username Your full email address
Authentication Provider-approved mailbox credentials

The outgoing server list can be found in Mail > Settings > Accounts > Server Settings > Edit SMTP Server List.

Never disable encryption or approve a certificate mismatch just to finish setup. If a hostname produces a certificate warning, confirm the correct hostname with your provider.

Test and troubleshoot

Send an email from the Mac to another address, reply to it, and confirm both incoming and outgoing mail work. Check the same account in webmail to make sure messages are synchronizing.

If incoming email works but sending fails, check SMTP authentication, the outgoing server name, the selected port, and the mailbox password. If both directions fail, confirm that the account exists and is accessible through webmail.

Removing an account from Apple Mail can remove locally stored messages from the Mac. Review any locally stored mail before deleting and recreating the account.